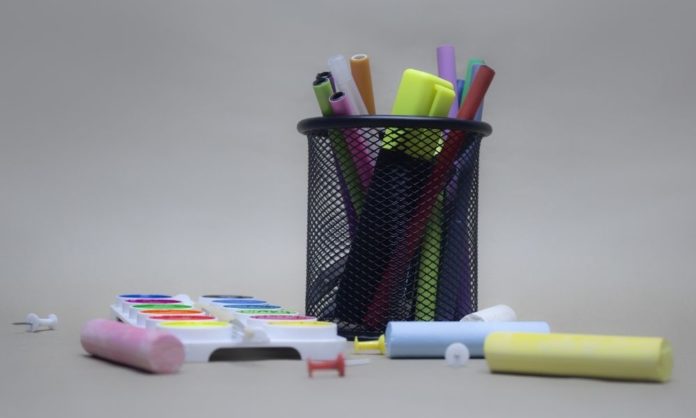
For your next art project or class assignment, you might want to use the same materials you’ve always used previously. However, with the increasing popularity of chalk markers, why not try something new?
The best part is that you can use these markers on a regular chalkboard, walls, sidewalks, and more. Just keep in mind that they only work on non-porous surfaces such as metal, slate, glass, or porcelain. Nonetheless, here are some top tips on how to use liquid chalk markers.
Shake the Marker Well Before Opening It
Sometimes the ink gets stuck in one spot inside the marker, so before taking off the cap, point the marker upright and shake it well. Shaking it will even out any pockets of ink that were collecting inside the marker. Always make sure the cap is securely fastened to the marker before you shake it.
Pump the Marker on a Surface
Note that liquid chalk markers have different tips than other types of markers. Therefore, you will want to find a flat surface to press the marker on to collect the ink at the tip.
First, press the tip in for a moment or two, then release. Repeat this process until an adequate amount of ink is inside the tip of the marker. However, don’t put too much pressure on the tip while you are pumping, or else it can deform.
Also, the ink takes a second or so to dry, so be careful with your hands and don’t smear the ink if you are pumping the marker where you plan on working. This process usually takes between 20 and 50 pumps, so don’t worry if it feels like you are taking too long.
Store Them Properly After Creating Your Art
After pumping all the ink to the tip, now you can start drawing! Clean your writing surface before you begin to ensure that your art comes out the way you want.
When you are drawing on a new surface, make a small mark before you begin to gauge how the marker reacts with the surface. Once you finish, make sure that the cap is on tight and store the markers upright in a case.
Overall, liquid chalk markers are an excellent new way to add color to your artwork; just be sure to do the spot test with the tip to ensure that you are using an appropriate surface. Now that you know these top tips on how to use liquid chalk markers, it’s time to start drawing!


