Whether you want to become a recording artist or you enjoy fiddling around with samples and beats in your free time, you’ve likely experimented with making music in high school and college. But if you’re seriously investing your time and energy into your craft, you should build your own setup. Here are the best tips for making your own recording studio.
Find a Suitable Location
Let’s face it—college dorms aren’t the quietest of places. In a recording studio, you try your best to capture the highest quality sound from your voice or instrument. The last thing you want to deal with is a bunch of noisy people playing video games or watching shows loudly next door. If you have friends in off-campus apartments or you live close to home, these may prove more suitable locations for your recording studio. But you can always make do with your closet space or a closed-off corner.
Work Hard To Soundproof
No matter where you set up your studio, you need to soundproof the space. The easiest way to do this is with soft materials like thick blankets and quilts. If you want to invest more into the space, you can find wedged or conical foam panels that absorb sounds and create an irregular surface to prevent echoing. If you only work in one corner of a room, try to seal off that space or cover that section of the wall with soundproofing materials.
Acquire Some Equipment
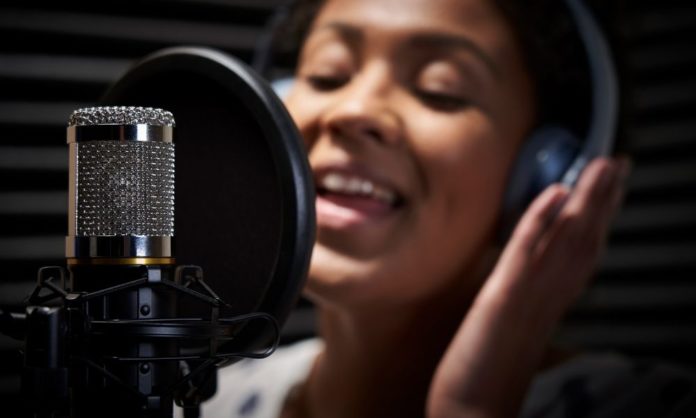
Now comes the tricky part: acquiring the tech. First, you’ll need a computer with music editing software so you can collect, sort, edit, and master your audio files. You’ll also need a recording studio microphone, plus a few cables to collect your samples. You should also have headphones, mini amps, and a mic stand to make your recording easier.
Use these tips for making your own recording studio as you plan your musical genius. While not every situation is ideal, you can make the most of your dorm room or apartment and have a blast doing it.


